Workspace
The sendance-cloud: Client offers Workspaces with three different tabs: Patients, Recordings, and Live Data. You can see which tab you're currently in right next to the sendance-Logo on the top of the screen.
Select the respective tab's title for more information:
Patients
The Patients workspace allows you to list, view, create and edit your patients' details. Patients of your organization are listed by default.
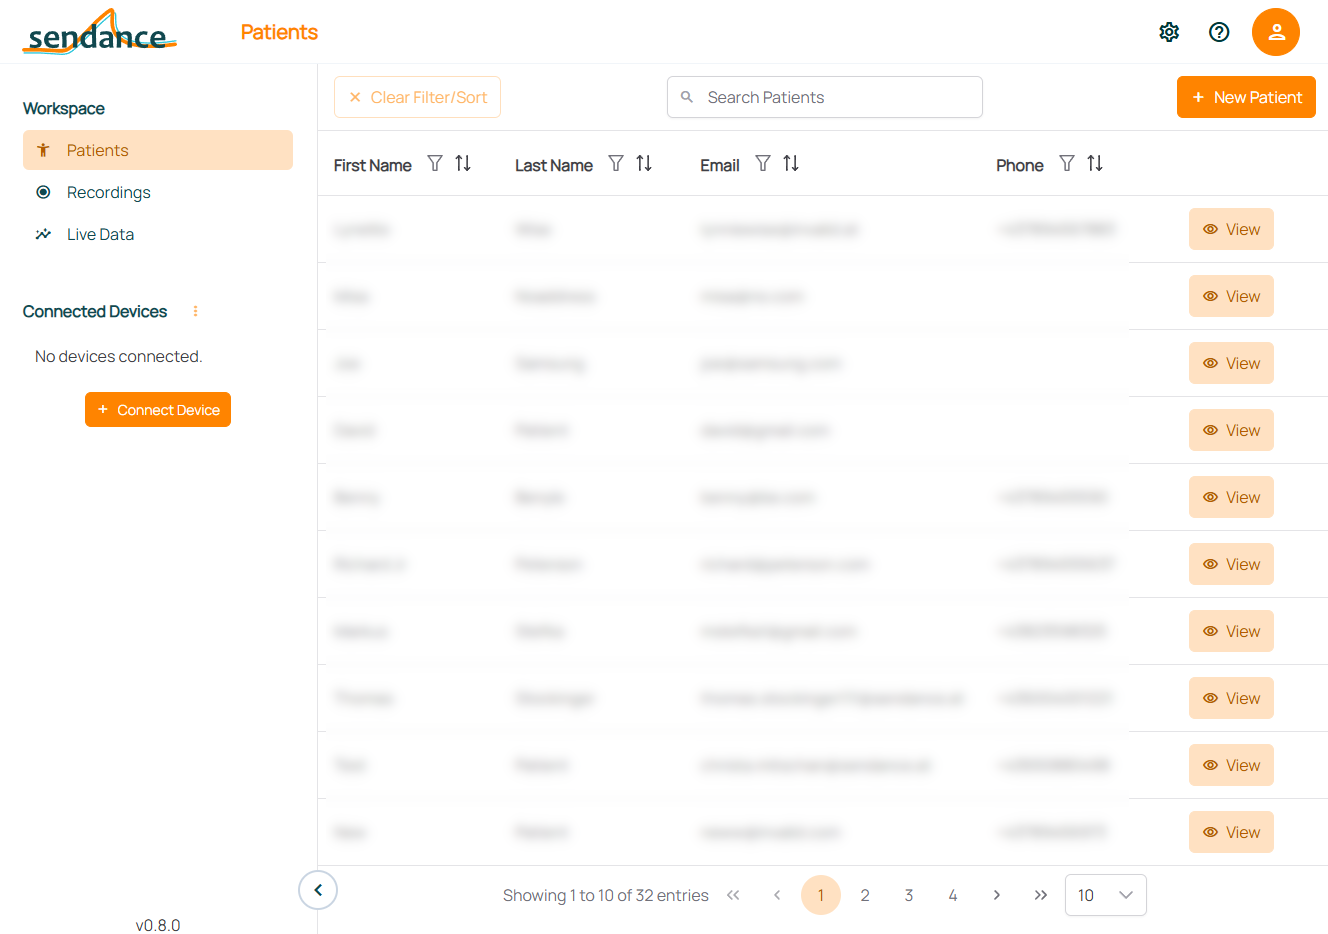
Searching: Search for patients by entering any of their details in the "Search Patient" box.
Filtering & sorting: Click the icon next to the respective column title (e.g. "First Name") to filter or sort the patient list. Clicking "Clear Filter/Sort" removes any applied sorting or filtering.
Browse through more patients: Select a page or arrows on the bottom of the list to view more patients.
Viewing patient details: To view a patient's details, click "View" in the respective row.
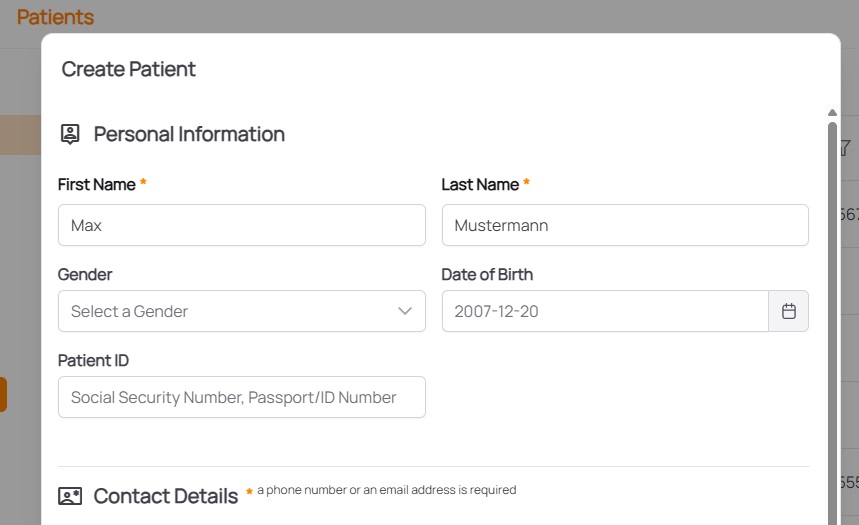
Adding Patients
To add a new patient, select "New Patient" and add the patient's details. Attributes marked with an asterisk (*) are required. Afterwards, click "Create" in the bottom right corner (scrolling may be required). The patient's details will then be displayed.
Viewing, Editing or Deleting an Existing Patient
To view, edit or delete an existing patient's details, select "View" in the respective patient's row. Then, select the respective action in the bottom of the patient's details and subsequently perform and confirm or cancel them (e.g. by clicking "Save Changes" in the editing dialog).
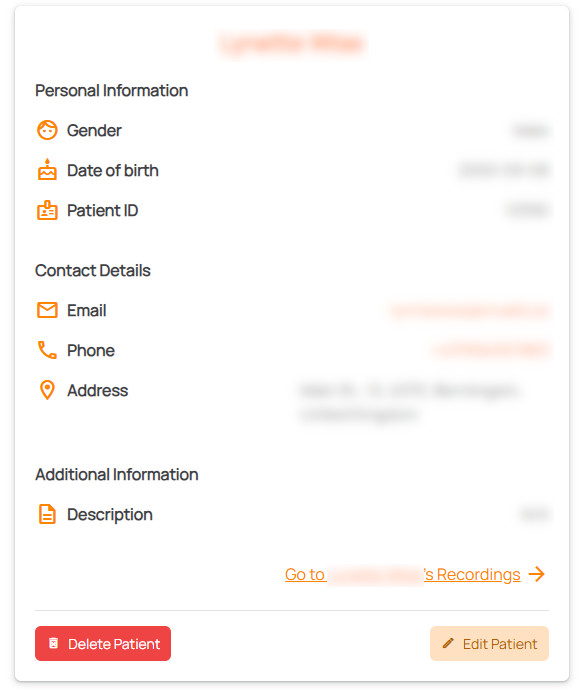
The Patient Details view can also be used to directly go to the respective patient's Recordings by clicking "Go to Patient Name's Recordings".
Recordings
The Recordings tab allows you to view, create and edit recordings. All recordings made by your organization are listed by default.
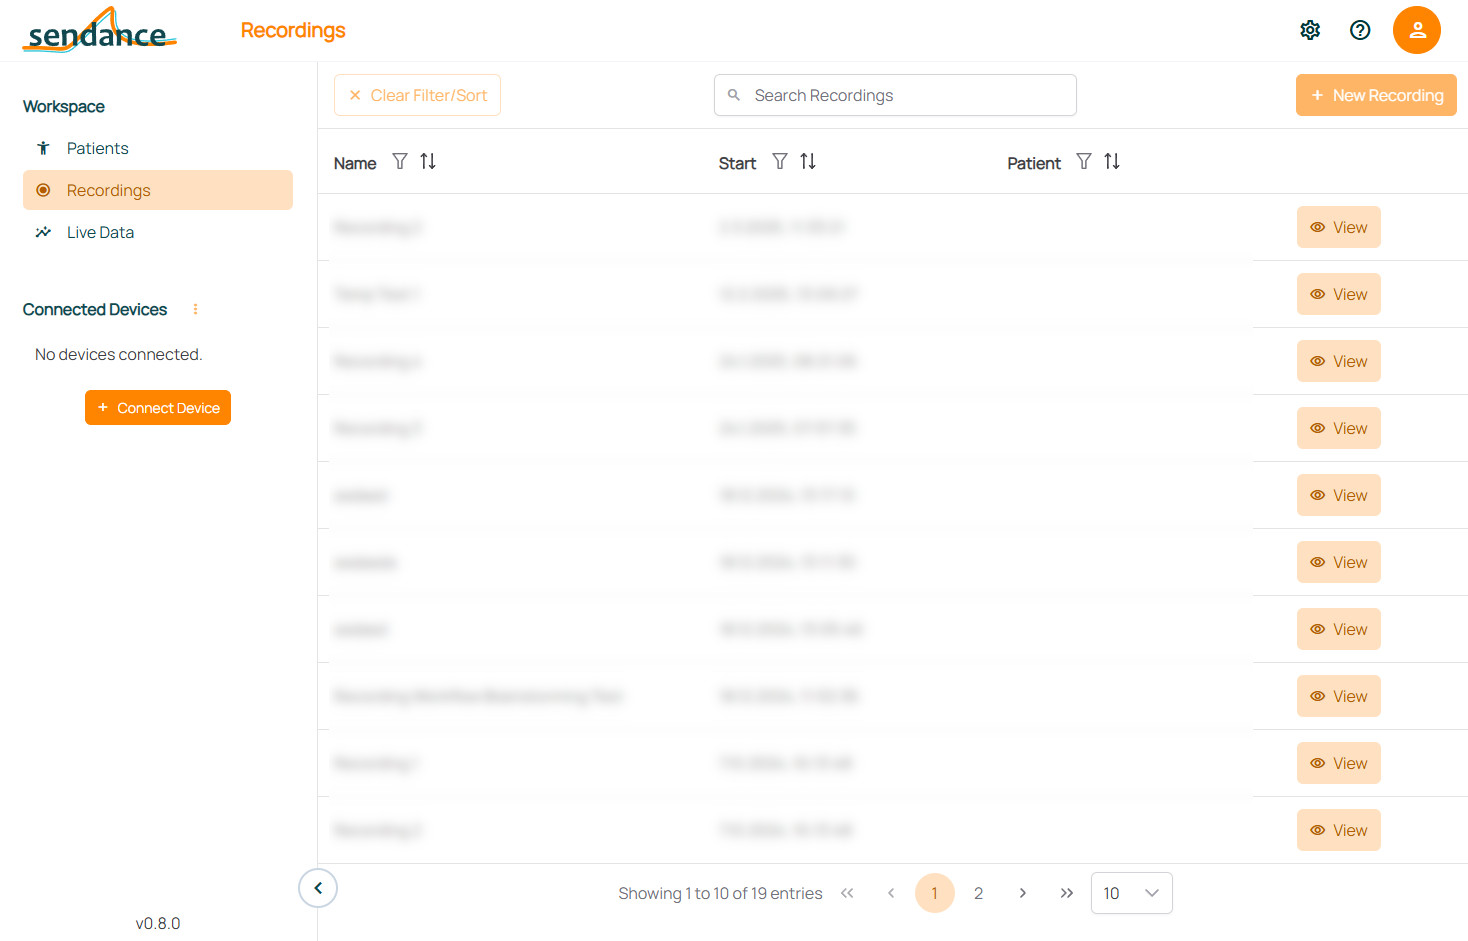
Searching: Search for recordings by entering any of their details in the "Search Recordings" box.
Filtering & sorting: Click the icon next to the respective column title (e.g. "Start") to filter or sort the recordings list. Clicking "Clear Filter/Sort" removes any applied sorting or filtering.
Browse through more recordings: Select a page or arrows on the bottom of the list to view more recordings.
Creating a New Recording
To create a new recording, make sure all devices needed for the recordings are connected and then click "New Recording". Subsequently, choose the recording mode:
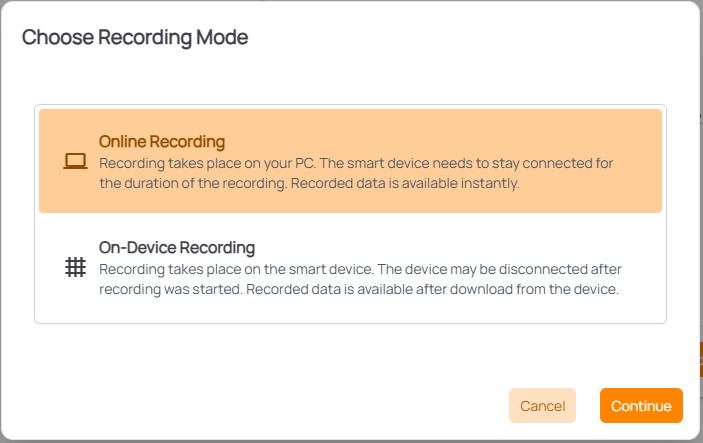
- Online Recording: Online recordings allow to view data recorded "live" in real time as is the case in the Live Data tab! However, the smart device(s) must stay connected via Bluetooth during the recording.
- On-Device Recording: On-device recordings allow to disconnect devices after starting a recording but not view data "live". To stop the recording and retrieve its data, the smart device(s) must be reconnected and the data downloaded from it/them.
Make sure to carefully choose the correct mode, depending on your use case! It's recommended to do an on-device recording, if there is some probability of the Bluetooth connection being interrupted.
Learn more about recording data on the Data Viewing & Recording page!
Viewing, Editing or Deleting an Existing Recording
After creating a recording or when selecting one from the Recordings list, the Recording Details and its Overview tab are shown.

In the Overview tab, important meta data (such as the recording's title or duration) is displayed and the recording can also be deleted or exported as CSV file. From there, data views available for the recording can be selected. Learn more about viewing recordings on the Data Viewing & Recording page!
Live Data
The Live Data tab allows to view sensor data in real-time, as they're measured by the connected device(s). We recommend a maximum of 3-4 devices being connected at the same time. Data visualizations supporting live data are shown as tabs, such as Graph and Device View. They're fully configurable -- e.g. multiple graphs can be viewed at the same time, which sensors are displayed can be changed, and much more!
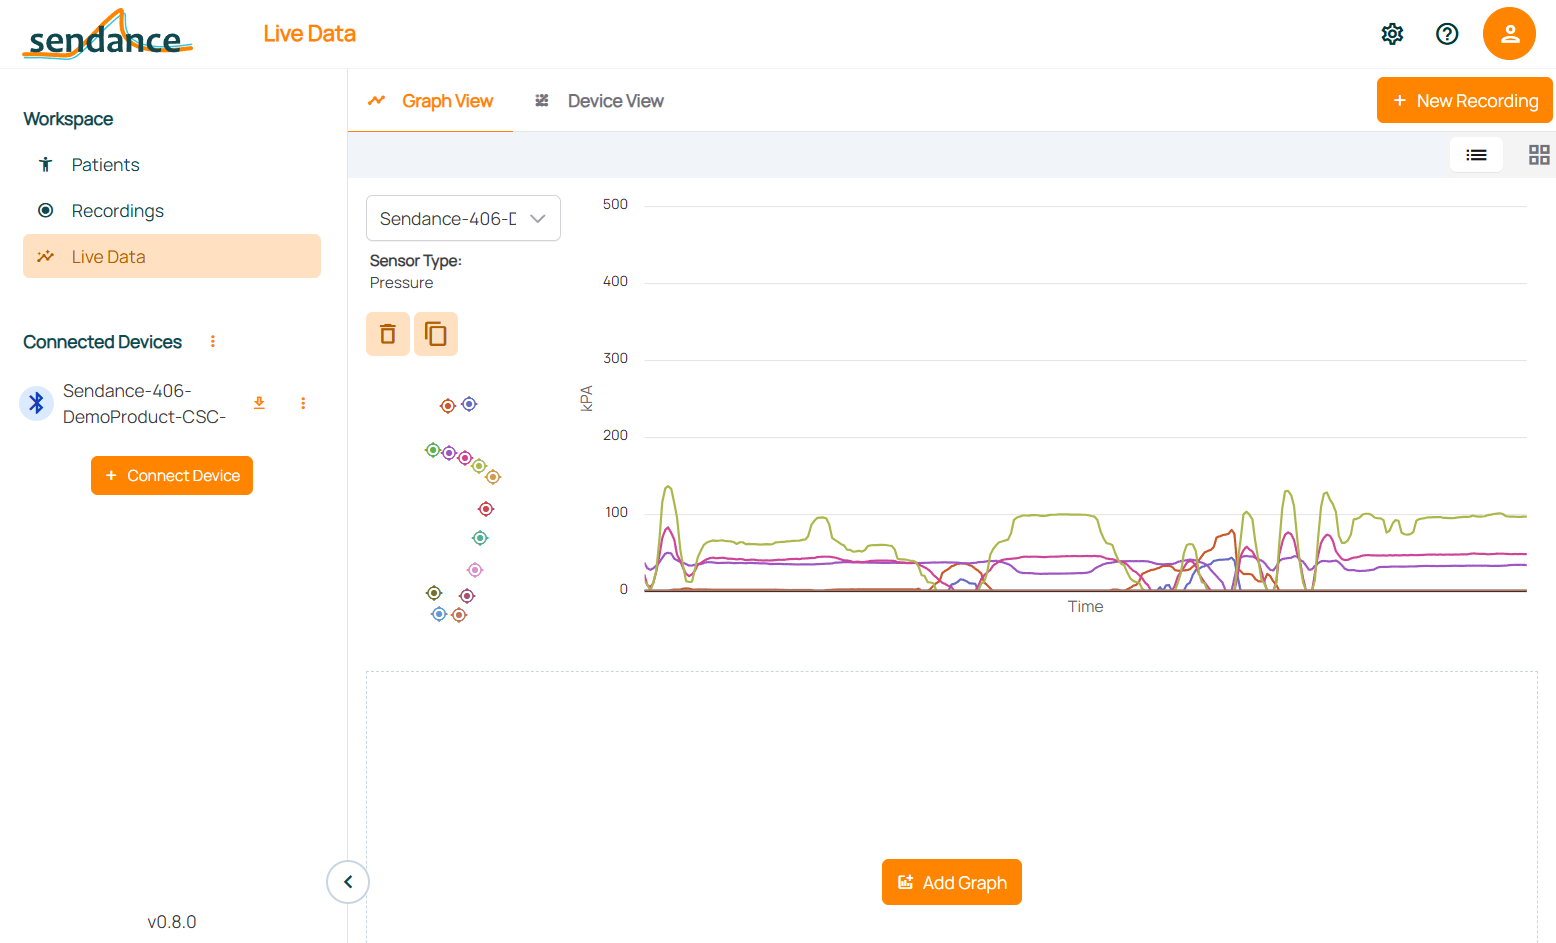
Learn more about viewing data and configuring your data views on the Data Viewing & Recording page!